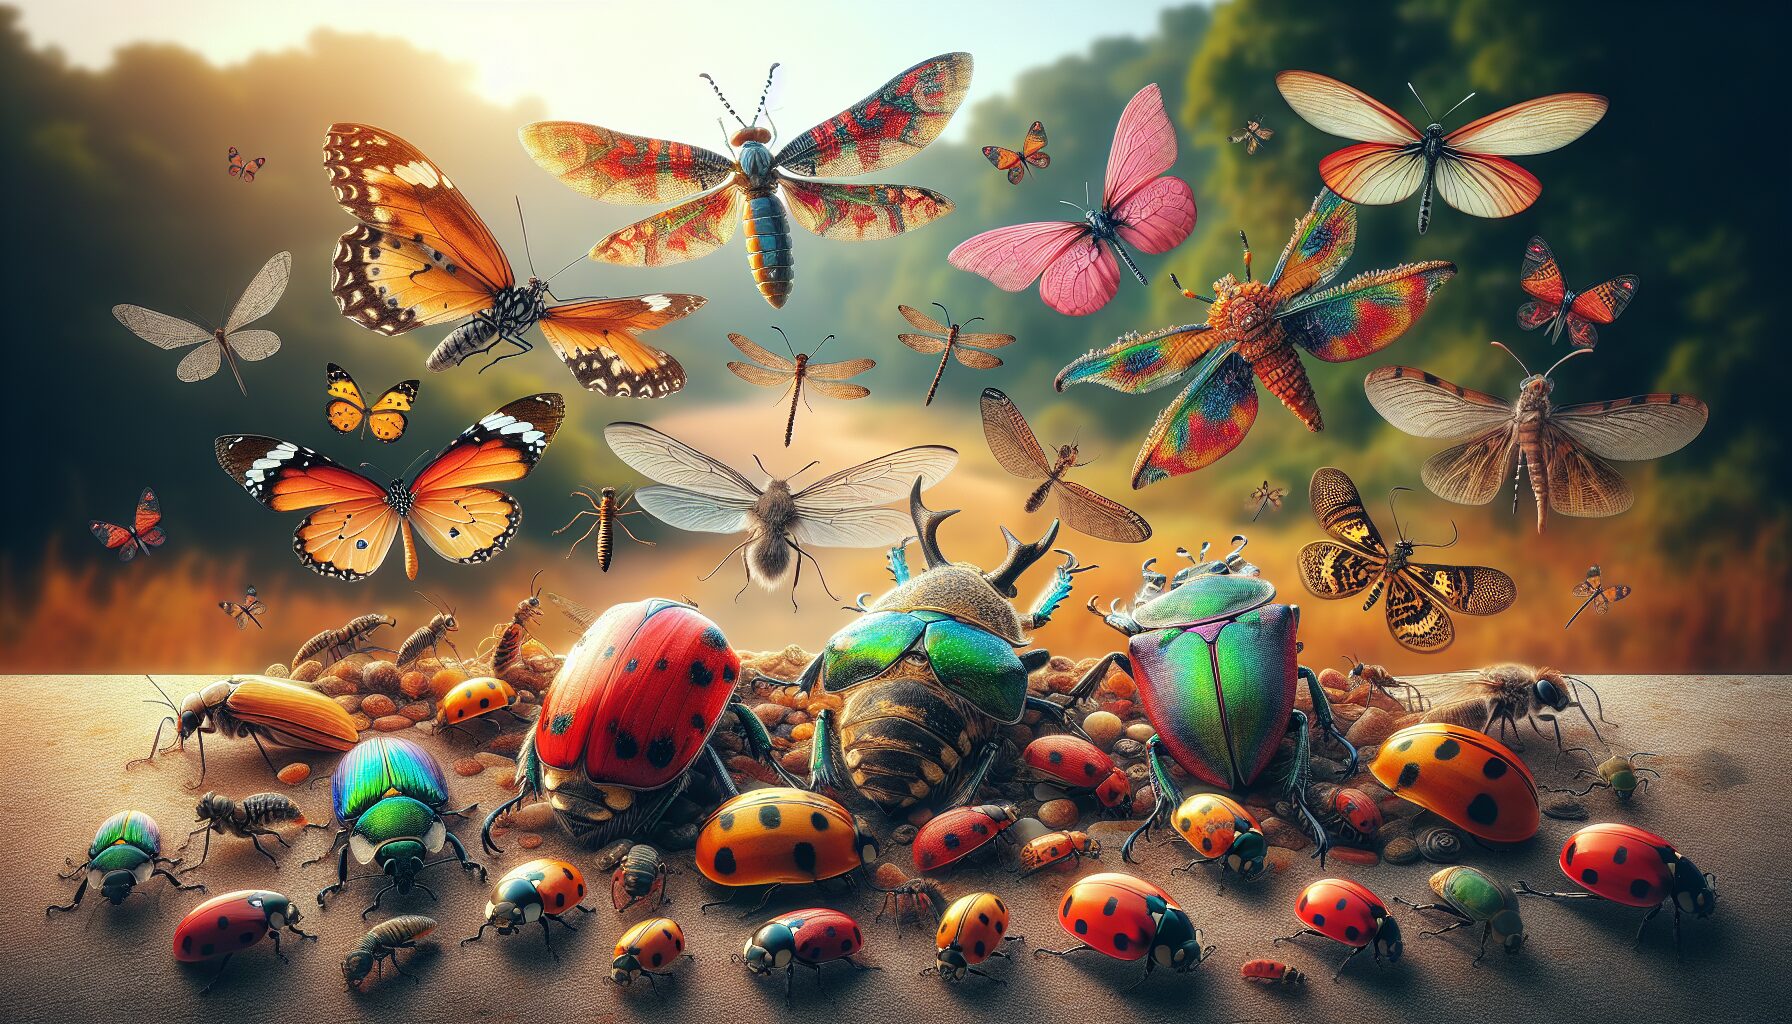
Macro photography is like entering a hidden world right in your backyard! The thrill of capturing tiny details of insects is unmatched. I remember my first attempt with a Canon EOS R5, equipped with a 100mm f/2.8 macro lens. I set the ISO to 200 and aperture to f/16 to get the sharpest details. The moment I captured a dragonfly’s iridescent wings, I was hooked! For those in Pakistan, the diversity of insects is incredible. From the vibrant butterflies in the Margalla Hills to the intricate patterns on beetles in the Thar Desert, there’s so much to explore. However, capturing these details requires steady hands and patience. A tripod can be your best friend. Moreover, using a ring flash can help illuminate tiny subjects, revealing colors and textures often missed. So, gear up and dive into this fascinating genre with enthusiasm!
Essential Gear for Insect Photography
Let’s dive into the exciting world of gear for capturing those tiny, intricate insects in all their glory! When I first started with macro photography, my trusty Canon EOS R5 became my best friend. This camera, with its 45-megapixel sensor, is perfect for capturing detailed shots. But the magic truly happens with the right lens. A 100mm f/2.8 macro lens is a game-changer. It lets you get up close while maintaining a comfortable distance from your subject, which is crucial when shooting skittish insects.
Lighting can make or break your shot, especially in macro photography of insects. I remember an early morning in the gardens of Karachi when I realized the importance of a good flash. The Godox V1 round head flash is an excellent choice. It provides even lighting, which helps in bringing out the vibrant colors and details in an insect’s wings or body. Additionally, a ring light can be super handy. It wraps light around the lens, reducing shadows and highlighting textures.
Tripods and Other Essentials
In the excitement of capturing the perfect shot, stability often gets overlooked. A sturdy tripod is essential for avoiding any blurriness due to camera shake. I use the Manfrotto Befree Advanced tripod, which is lightweight yet stable. This is particularly useful when setting up in uneven terrains, like the lush hills of Murree. Furthermore, consider using a remote shutter release. It minimizes vibrations that might occur when pressing the camera’s shutter button.
Let’s not forget about the importance of a good backpack. When I’m trekking through the diverse landscapes of Pakistan, my Lowepro ProTactic backpack safely carries all my gear. It’s rugged and offers compartments to organize everything from lenses to memory cards. Speaking of memory cards, always carry extras. High-resolution images take up a lot of space, and you don’t want to miss capturing a rare insect moment due to a full card!
Finally, patience and practice are invaluable. Nature can be unpredictable, and insects don’t always cooperate. However, with the right gear and a little perseverance, you can capture stunning images that reveal the hidden beauty of the tiny world around us. Therefore, embrace the challenge, and let your creativity lead the way!
Techniques for Capturing Stunning Insect Images

Ever tried capturing those tiny, busy bees or vibrant butterflies in your garden? It’s both challenging and incredibly rewarding! I remember my first attempt with a Canon EOS R5 paired with a 100mm f/2.8 macro lens. The detail in the insect’s wings was breathtaking, but it took a few tries to get it right. Let’s dive into some techniques that can help you capture stunning insect images, especially if you’re shooting around the lush, diverse landscapes of Pakistan.
Choosing the Right Gear
First things first, your camera gear matters a lot. A DSLR or a mirrorless camera with a dedicated macro lens is ideal. I’ve found that the Canon EOS R5, with its 45MP sensor, offers fantastic detail. Pair it with a 100mm f/2.8 macro lens for sharpness. Compact cameras with macro modes can work too, but having a dedicated lens makes a world of difference.
Insect photography often requires patience and the right timing. Early mornings are perfect since insects are less active. Use a tripod for stability, especially if you’re working with slower shutter speeds like 1/30s. Remember, a steady hand or a tripod ensures sharp images.
Lighting and Settings
Lighting is crucial in macro photography. Natural light is your best friend, but sometimes a flash can help. I recommend using a ring flash or a twin flash setup. It evenly lights your subject without harsh shadows. Make sure to adjust your camera settings to ISO 100 for minimal noise, and set your aperture to around f/16 to maximize depth of field.
For focusing, manual focus is your go-to option. Autofocus can struggle with tiny subjects, so switch to manual for more control. I also use focus stacking for razor-sharp images. This technique involves taking multiple shots at different focus points and merging them later. You can find tutorials on YouTube for detailed processes.
Composition is another key aspect. Try different angles and perspectives. Get down to the insect’s level for a more engaging shot. Include some of the environment for context. It helps tell a story about your tiny subject.
Additionally, be mindful of the weather. Windy days make it difficult to capture sharp images. Overcast skies, however, provide diffused light, which is perfect for photographing insects.
Did you know that Pakistan is home to over 5,000 species of insects, according to The Pakistan Museum of Natural History? This offers endless opportunities for macro photography enthusiasts to explore and document these creatures.
Finally, practice is key. The more you shoot, the better you’ll get. Don’t be discouraged if your first shots aren’t perfect. With these techniques, you’ll be well on your way to capturing the intricate beauty of insects in all their glory. Happy snapping!
Understanding Insect Behavior for Better Shots

Understanding the behavior of insects is like unlocking a secret door to a world bustling with life and wonder. When I first picked up my Canon EOS R5 with a 100mm f/2.8 macro lens, I was amazed at the details I could capture. But I quickly learned that the real magic happens when you understand your tiny subjects. Have you ever noticed how a butterfly flutters around a flower before settling down? Observing these patterns can help you predict the best moment to snap that perfect shot.
Timing is everything in insect photography. During my early morning shoots in the lush gardens of Islamabad, I discovered that insects are more sluggish and less likely to flee. This is because cooler temperatures slow them down. Setting my camera to ISO 200 and f/16, I managed to capture a stunning image of a dewdrop-covered dragonfly. The morning light, I realized, provided a natural softbox effect, adding an ethereal glow to my photos.
Patience and Observation
Additionally, patience plays a crucial role. I remember spending nearly an hour watching a bee pollinating flowers. It taught me about its flight paths and landing habits, allowing me to anticipate its next move. Using a shutter speed of 1/250s, I was able to freeze its motion perfectly. This technique is particularly useful when you’re photographing fast-moving insects like bees or butterflies.
Moreover, understanding insect habitats can enhance your macro photography skills. For instance, if you’re venturing into the mangroves of Sindh, you’re likely to encounter a variety of unique species. Each has its own rhythm and routine. Knowing where and when to find them increases your chances of capturing rare moments. Organizations like WWF Pakistan work to preserve these habitats, so exploring their resources can provide valuable insights.
Furthermore, insects communicate and behave differently based on their environment. Ants, for example, follow pheromone trails, and observing this can lead to captivating shots of their orderly lines. Using a tripod to stabilize your camera at ground level, combined with a low aperture setting, emphasizes their fascinating behavior.
Lastly, understanding insect behavior not only enriches your experience but also improves your macro photography results. Dive into their world with curiosity and respect, and you’ll find that every click of the shutter opens up a new story waiting to be told.
Post-Processing Tips for Macro Photography

Let me tell you, there’s something magical about capturing the intricate details of insects through macro photography. But, let’s be honest, the magic doesn’t just end with clicking the shutter. Oh no, post-processing is where you can really elevate your shots! A few years ago, I was out in the stunning Margalla Hills with my trusty Canon EOS R5 and a 100mm f/2.8 macro lens. The light was perfect, and I snapped a shot of a beautiful butterfly. However, it was in post-processing where the image truly came to life.
First off, I always start with adjusting the exposure and contrast. Using Adobe Lightroom, I find it helpful to set the exposure just right to bring out the vibrant colors of the insect. For that butterfly photo, I bumped the exposure by 0.5 stops to brighten it up, and then increased the contrast to make those wings pop against the background.
Another tip is to use the clarity and texture sliders carefully. Increasing texture can enhance the details in an insect’s wings or body, but don’t overdo it. Otherwise, it can start to look unnatural. For my butterfly shot, I increased the texture by 10 and clarity by 5. This added just enough depth without losing the natural look.
Enhancing Colors and Details
Color is another crucial aspect of making your insect photos stand out. I prefer using the HSL (Hue, Saturation, Luminance) panel. For that butterfly, I wanted the blues to be more vibrant, so I increased the saturation for the blue tones. Additionally, adjusting the luminance can help certain colors stand out more. This is especially useful if you want to highlight specific parts of the insect.
Don’t forget about noise reduction! In macro photography, especially with insects, you might be shooting with a high ISO setting. For that day in Margalla Hills, I was at ISO 800, so reducing noise was necessary. Using Lightroom’s noise reduction feature, I adjusted the luminance noise reduction to around 25. This helped smooth out the image while retaining detail.
Finally, consider cropping your image to improve composition. Sometimes, the best part of the photo isn’t right in the center. By cropping, you can focus on the most interesting aspects of your subject. This technique allowed me to direct attention to the butterfly’s eyes, making the image more compelling.
The Pakistan Photography Club Pakistan Photography Club often shares some brilliant tips on post-processing and is a great resource. Whether you’re a beginner or a pro, their insights can be incredibly helpful. So dive into post-processing and watch your insect macro photography transform into works of art.
Common Challenges and How to Overcome Them
Capturing the intricate beauty of insects through macro photography can be both thrilling and challenging! One common hurdle is dealing with lighting. When I first started with my Canon EOS R5 and a 100mm f/2.8 macro lens, I struggled with shadows and highlights. Natural light is wonderful, but it can be inconsistent. I found using a ring light or a diffused flash helps balance light and reduces harsh shadows. Moreover, setting the ISO to 100 and the aperture to f/16 can enhance depth of field, keeping those tiny details sharp and clear.
Focus can be another tricky aspect. Insects are tiny and constantly moving! Patience is key here. Using manual focus is often better than relying on autofocus, which can get confused by busy backgrounds. I remember spending hours in my garden, practicing on butterflies and ants. A tripod provides stability, allowing you to keep the camera steady, especially when using slower shutter speeds like 1/30s.
Dealing with Movement
Oh, the joys of photographing moving targets! Insects rarely sit still for you. Anticipating their movement helps. Spend time observing their behavior. I once spent an entire afternoon with dragonflies at a local park. I noticed they often return to the same perch. This pattern allowed me to set up my shot in advance. Also, increasing the shutter speed to 1/500s or more can freeze their motion. However, this might require bumping up the ISO, especially in lower light conditions.
Backgrounds can make or break your shot. Busy backgrounds can distract from your subject. Positioning yourself at a different angle or moving slightly can help isolate your subject. Sometimes, I use a simple colored card behind the insect. This technique works wonders in making your subject pop! But remember, practice makes perfect.
Weather conditions in Pakistan can vary greatly, impacting your macro photography sessions. Early mornings are often the best time to shoot. The light is soft, and many insects are less active. Plus, the morning dew can add a magical touch to your photos. I learned this while exploring the lush gardens in Lahore. If you’re looking for more tips, National Geographic offers excellent resources on nature photography.
Another challenge is the equipment’s weight and bulkiness. Lugging around heavy gear can be tiring. I always recommend a comfortable camera strap and a lightweight backpack. Trust me, your back will thank you after a long day of shooting. Additionally, don’t forget to check out WWF Pakistan for more insights into local insect species and habitats.
Conclusion
To sum up, mastering macro photography of insects involves a blend of the right gear, technique, and a deep understanding of your tiny subjects. A camera like the Canon EOS R5 paired with a 100mm f/2.8 macro lens is essential, while tools like a sturdy tripod and appropriate lighting can enhance your shots. Understanding insect behavior, patience, and timing are crucial to capturing stunning images. Post-processing further elevates your work, allowing you to refine details, colors, and composition. Despite challenges like lighting and movement, persistence and practice make it possible to capture the intricate beauty of insects. Dive into this fascinating world with curiosity and creativity, and let your lens reveal nature’s tiny wonders. Happy snapping!
Continue Exploring
Unleash your creativity and embark on a visual journey through Australia’s hidden gems. These unique spots are a playground for abstract photography enthusiasts looking to capture the extraordinary.
Frequently Asked Questions
What equipment do I need for macro photography of insects?
For macro photography of insects, you’ll need a camera with a macro lens, preferably one with a focal length between 90mm and 105mm. A tripod is essential for stability, and a ring flash or diffuser can help in achieving balanced lighting. Additionally, consider using extension tubes or close-up filters to get closer to your subject.
How can I improve the depth of field in insect macro photography?
To improve the depth of field in insect macro photography, use a smaller aperture (higher f-stop number), such as f/16 or f/22. This increases the depth of field, allowing more of the insect to be in focus. However, remember that smaller apertures reduce light, so you may need to compensate with a slower shutter speed or additional lighting.
What are the best tips for capturing sharp images in insect macro photography?
To capture sharp images in insect macro photography, use a fast shutter speed to minimize motion blur and a sturdy tripod to prevent camera shake. Consider using manual focus for precise control and shoot in continuous mode to increase your chances of capturing a sharp image. Additionally, ensure your subject is well-lit, as good lighting contributes to image sharpness.
Leave a Reply