Understanding the art of long exposure photography involves capturing the passage of time in a single frame, creating images that reveal movement and flow. This technique is especially captivating when photographing dynamic subjects like waterfalls or the milky way over the Australian outback. For instance, I once used my Canon EOS R5 with a 24-70mm f/2.8 lens to capture the ethereal beauty of the Great Ocean Road’s Twelve Apostles at dusk. Setting the camera to ISO 100, f/16, and a shutter speed of 30 seconds allowed the crashing waves to appear silky smooth against the rugged coast. Additionally, a neutral density filter helped reduce the light entering the lens, enabling longer exposure times even during daylight. By mastering these techniques, photographers can transform ordinary scenes into extraordinary visual narratives, capturing the essence of Australia’s stunning landscapes and seascapes.
Essential Equipment for Long Exposure Shots
Long exposure photography can transform ordinary scenes into extraordinary visuals. However, capturing these stunning images requires the right gear. A sturdy tripod is essential. It keeps your camera stable during the long shutter times needed for this technique. I often use a Manfrotto Befree Advanced tripod. It is lightweight yet robust, perfect for capturing Sydney’s dazzling Opera House in low light.
A reliable camera with manual mode is crucial. The Canon EOS R5 is a great choice. It offers excellent low-light performance and full manual control. You can set your preferred ISO, aperture, and shutter speed to achieve the desired effect. For instance, an ISO of 100, aperture of f/11, and a shutter speed of 30 seconds can beautifully blur ocean waves lapping against Bondi Beach rocks.
Filters and Remote Shutters
Filters play a significant role in long exposure photography. Neutral Density (ND) filters are particularly useful. They reduce the amount of light entering the lens, allowing for longer exposure times even during daylight. I use a 10-stop ND filter when photographing Melbourne’s busy Flinders Street Station. It helps create a dreamy motion blur of bustling commuters.
A remote shutter release is another vital tool. It helps avoid camera shake when pressing the shutter button. Wireless remote shutters, like the Canon BR-E1, provide flexibility. You can capture long exposures from a distance, ideal when framing shots of Uluru during twilight.
Don’t forget extra batteries and memory cards. Long exposure shots can drain power quickly. Additionally, shooting in RAW format consumes more memory. Extra storage ensures you don’t miss any mesmerizing moments.
For those exploring astrophotography, a wide-angle lens is beneficial. The Sigma 14-24mm f/2.8 DG HSM Art lens is excellent for capturing the Milky Way over the Pinnacles Desert. Its fast aperture allows more light to hit the sensor, revealing more stars in your photos.
Lastly, consider using a polarizing filter. It can reduce reflections and enhance colors, adding depth to your images. When photographing the Great Barrier Reef’s vibrant corals, a polarizer can make a significant difference.
Investing in the right equipment can elevate your long exposure photography. With the right tools, you can capture Australia’s iconic landscapes like never before. Whether it’s the shimmering lights of Sydney Harbour or the serene beauty of the Outback, the right gear unlocks endless creative possibilities.
Advanced Camera Settings for Perfect Shots

Mastering advanced camera settings is essential for capturing stunning long exposure shots in New Zealand’s diverse landscapes. One of my favorite spots is the picturesque Lake Tekapo, where using a Canon EOS R5 with a 16-35mm f/2.8 lens can produce breathtaking images. Setting the ISO to 100 and using an aperture of f/16 allows for sharpness and depth of field. A shutter speed of 30 seconds can beautifully capture the movement of clouds over the lake.
However, achieving the perfect shot often requires more than just basic settings. Using a tripod is crucial to prevent camera shake during long exposures. I remember a windy evening at Piha Beach, where my sturdy Manfrotto tripod prevented blurry images. Additionally, using a remote shutter release or the camera’s built-in timer helps avoid vibrations when pressing the shutter button.
Utilizing Filters for Enhanced Effects
Filters play a significant role in long exposure photography. Neutral density (ND) filters are indispensable for controlling light exposure. While photographing the rolling waves at Cathedral Cove, an ND filter allowed me to extend the exposure time to two minutes. This created a silky-smooth effect on the water. A polarizing filter is beneficial too. It enhances colors and reduces reflections, particularly useful when shooting in bright conditions. During a shoot at the Milford Sound, I used a polarizer to cut through the glare on the water’s surface, resulting in a more vibrant image.
Furthermore, white balance settings can greatly impact the final image. Sometimes, I manually adjust the white balance to 5600K when shooting at sunrise or sunset. This ensures the warm tones are accurately captured. This was particularly effective during a sunrise shoot at Mount Cook, where the golden hues of the morning light added warmth to the snow-capped peaks.
For those wanting to explore more photography techniques, understanding panoramic shots can be beneficial. Check out our detailed guide on panoramic photography techniques for additional insights.
To enhance your skills, consider joining workshops offered by local photography groups such as New Zealand Institute of Professional Photography. According to National Geographic, New Zealand’s unique landscapes are ideal for practicing diverse photographic styles. By experimenting with these advanced settings and techniques, capturing the perfect long exposure shot becomes an achievable goal.
Creative Techniques for Stunning Images

Capturing the stunning landscapes of New Zealand with long exposure techniques can transform your photography. One of my favorite personal experiences involved photographing the cascading waters of Huka Falls. Using my Canon EOS R5 with a 24-70mm f/2.8 lens, I set the exposure to 1/4 second, aperture to f/16, and ISO to 100. The result was a silky smooth portrayal of the water’s movement, contrasting beautifully with the rugged rocks.
To achieve similar effects, consider using a neutral density filter. This tool reduces the amount of light entering the lens, allowing for longer exposure times even in bright conditions. When I photographed the iconic Moeraki Boulders at sunrise, a 10-stop ND filter was essential. It helped extend my exposure to 30 seconds, creating a serene blend of waves around the boulders. This technique is particularly effective when combined with the rising or setting sun, adding warmth and color to your images.
Experimenting with Light Trails
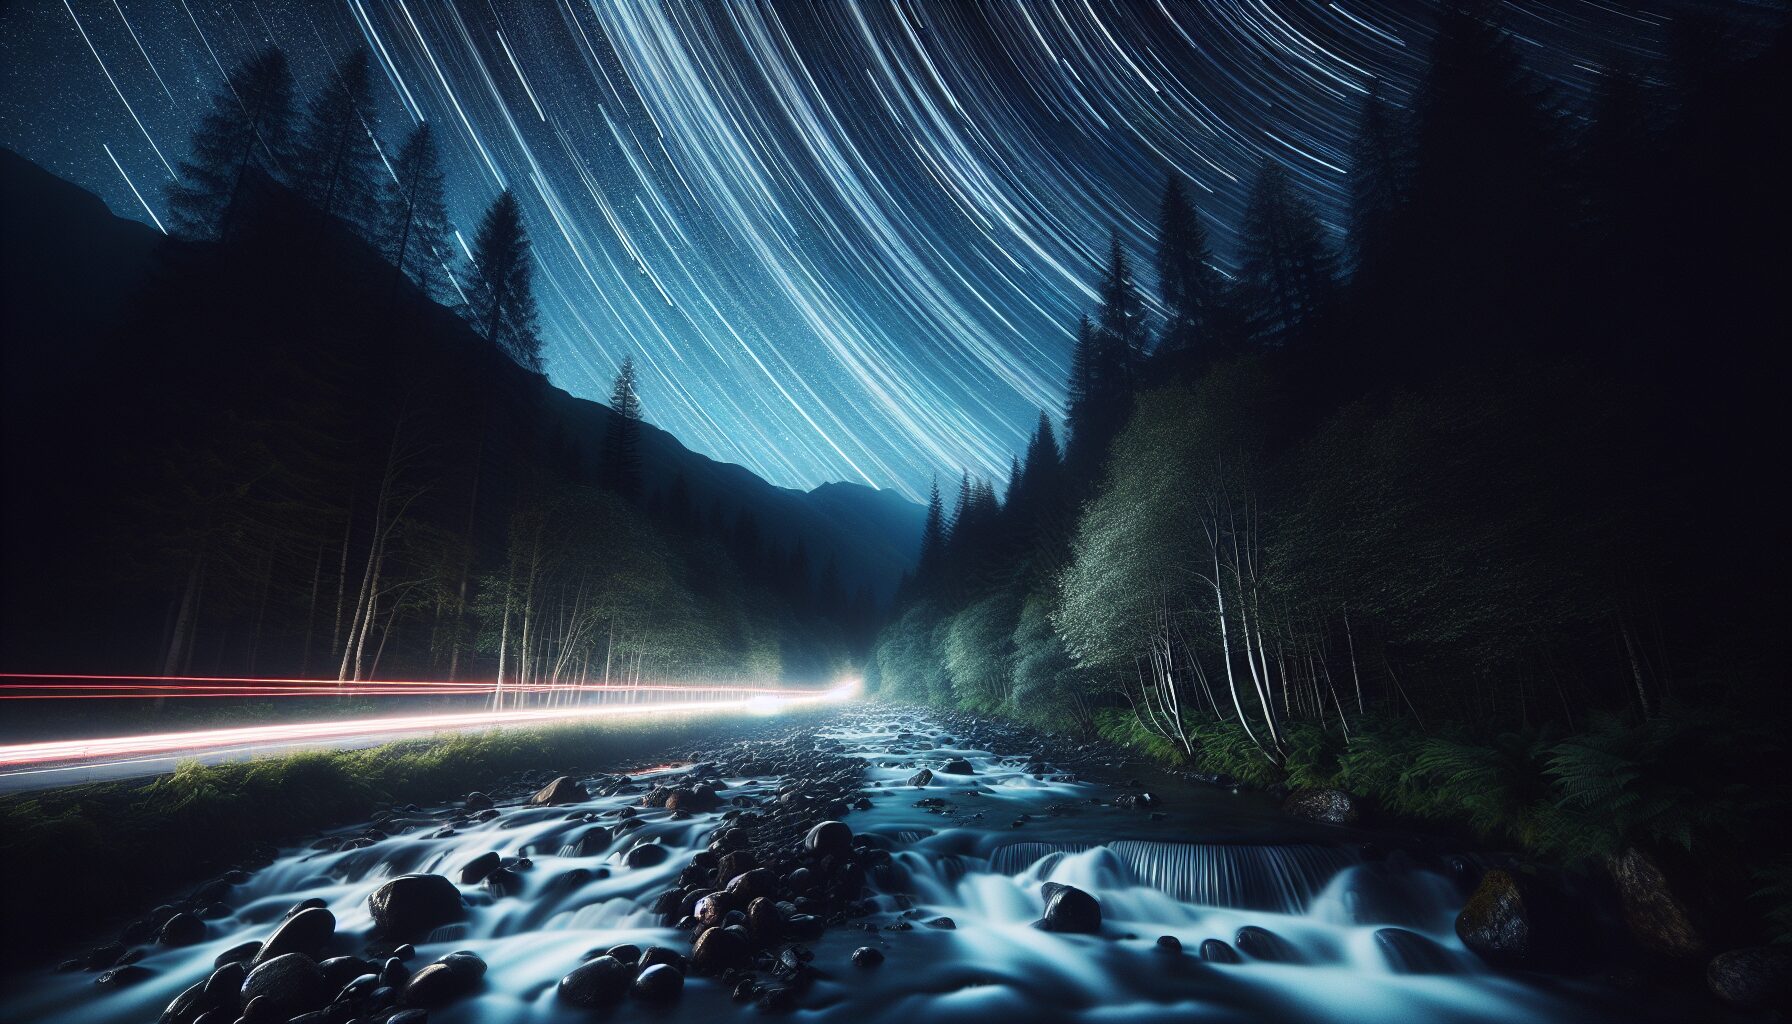
Long exposure isn’t just for natural landscapes; urban environments offer abundant opportunities. In Wellington, I captured mesmerizing light trails of vehicles winding through the city streets. Setting my camera on a sturdy tripod, I used a 15-second exposure with an ISO of 200 to capture the vibrant streaks of light. The Canon RF 50mm f/1.2 lens provided sharp detail and beautiful bokeh. Experimenting with different shutter speeds can yield various effects, from subtle blurs to dramatic lines.
Additionally, incorporating star trails into your repertoire can add a celestial element to your photography. On a clear night near Lake Tekapo, known for its dark skies, I set my camera to an exposure of 300 seconds using an f/4 aperture and ISO 400. This captured the earth’s rotation beautifully, creating circular star patterns in the sky. To enhance this effect, consider stacking multiple images using software like Adobe Photoshop, allowing for even longer composite exposures.
Don’t forget reflections, either. Shooting reflections in water during the blue hour can produce ethereal images. Near Fiordland National Park, I used a polarizing filter to reduce glare and enhance the reflective quality of the water. This technique, coupled with a 10-second exposure, resulted in a stunning mirrored landscape. Incorporating these creative techniques in New Zealand’s diverse settings will undoubtedly elevate your long exposure photography to new heights.
Post-Processing Tips for Long Exposure

Mastering the art of post-processing in long exposure photography can elevate your images from good to breathtaking. It’s like adding the final brushstrokes to a painting. Every time I take my Canon EOS R5 out to capture the ethereal waves at Piha Beach, I know the magic truly begins when I start post-processing. Using a 24-70mm f/2.8 lens and an ISO setting of 100, I capture the scene with precision. However, it’s in Adobe Lightroom where the real transformation takes place.
Firstly, always start with the basics. Adjust the exposure, contrast, and highlights to bring out the details hidden in the long exposure shots. In New Zealand’s often dramatic lighting conditions, this step is crucial. For instance, adjusting shadows can reveal the rugged textures of the rocks at Cathedral Cove. Additionally, using the clarity tool can enhance the water’s smoothness, offering a surreal look without compromising quality.
Advanced Techniques in Post-Processing
Utilizing advanced techniques can significantly boost your final image’s impact. One such method is using graduated filters. These are perfect for balancing exposures between the sky and land, especially when shooting at locations like Lake Tekapo. By dragging a graduated filter across the sky in Lightroom, you can darken a bright sky without affecting the foreground. This technique helps maintain the viewer’s focus on the central composition.
Furthermore, noise reduction is vital in long exposure photography. Longer shutter speeds can introduce noise, particularly in the shadows. Applying noise reduction selectively, especially in the darker regions, can help maintain image quality. I often find this particularly useful when processing images taken during the blue hour, where noise can be more prominent.
Finally, consider using the dehaze tool to enhance your images. This tool is excellent for cutting through the mist or haze that frequently accompanies morning shoots in New Zealand’s diverse landscapes. When capturing the misty fjords of Milford Sound, using dehaze can bring out the intricate details of the cliffs and water.
Exploring different long exposure photography techniques can also lead to unexpected creative results. For example, combining panoramic techniques can create an expansive view, adding depth to your long exposure shots. You can learn more about these techniques in our panoramic photography guide. Always aim to experiment and push the boundaries of your skills. Whether you’re capturing the serene lakes of the South Island or the bustling cityscapes of Auckland, New Zealand offers endless opportunities for stunning long exposure photography.
Remember, post-processing is not just about correcting mistakes. It’s about enhancing the story you want to tell through your image. For more professional software options, consider exploring tools like those from Adobe or Phase One. Each provides unique capabilities that can refine your post-processing workflow.
Troubleshooting Common Challenges
Mastering long exposure photography in New Zealand’s dynamic landscapes can be both rewarding and challenging. One common issue is motion blur that doesn’t enhance the image. To combat this, use a sturdy tripod. I recommend the Manfrotto Befree Advanced, which is both lightweight and stable, perfect for capturing those breathtaking Milford Sound waterfalls.
Another frequent problem is overexposure, especially during bright daylight. Use a neutral density (ND) filter to mitigate this. An ND1000 filter can reduce light by ten stops, allowing you to achieve that silky water effect even in full sun. This technique was invaluable when I shot the majestic Huka Falls with a Canon EOS R5 and a 24-70mm f/2.8 lens. The filter helped transform the rushing water into a smooth, dreamy cascade.
Dealing with Focus and Sharpness
Achieving sharp focus in low light can also be tricky. Use manual focus for precision. On a recent night shoot at Lake Tekapo, I found autofocus struggled with the low contrast. Switching to manual focus on my Nikon Z6, I used the focus peaking feature to ensure the stars remained sharp and clear. Additionally, set your aperture between f/8 and f/11. This maintains depth of field without sacrificing sharpness.
Wind can be another challenge, causing camera shake. A remote shutter release or the camera’s built-in timer can help. On a windy evening at Cape Reinga, I used a 2-second timer and weighted my tripod with a bag of rocks. This simple trick stabilized my setup, allowing for crisp long exposures of the lighthouse.
Color cast from ND filters can affect your images. Correct this in post-processing. During a sunrise shoot at Mount Cook, my images had a blue tint due to the ND filter. Adjusting the white balance in Adobe Lightroom brought back the natural colors of the scene.
Finally, always review your histogram while shooting. It helps ensure you capture a full range of tones, preventing the loss of details in shadows or highlights. This habit became crucial during a foggy morning at the Waitomo Caves, where contrast was low. Constantly checking the histogram helped me adjust exposure settings effectively, capturing the caves’ eerie beauty.
For more resources, the New Zealand Institute of Professional Photography offers excellent workshops and tips for refining your technique. Additionally, the Department of Conservation website provides valuable information on locations ideal for photography across New Zealand.
Conclusion
To sum up, mastering long exposure photography requires the right equipment, such as a sturdy tripod and reliable camera, and the use of essential tools like neutral density filters and remote shutters. These enable photographers to create stunning visual narratives of dynamic landscapes and urban settings. Advanced camera settings and post-processing techniques further enhance the images, allowing for the capture of ethereal and surreal scenes. New Zealand’s diverse landscapes offer a perfect playground for experimenting with long exposure techniques, from capturing silky waters and light trails to celestial star patterns. By addressing common challenges like motion blur and overexposure, photographers can refine their skills and elevate their art. With practice and a willingness to explore creative approaches, long exposure photography can unlock endless possibilities. Happy shooting!
Continue Exploring
Unlock the hidden beauty of the world with infrared photography and transform your perspective on capturing images. Dive into the mystical realm where vibrant colors and surreal landscapes await.
Frequently Asked Questions
What are the essential tools needed for mastering long exposure photography techniques?
To master long exposure photography, you’ll need a sturdy tripod to stabilize your camera, a camera with manual settings, neutral density filters to control light exposure, a remote shutter release to prevent camera shake, and a wide-angle lens for capturing expansive scenes.
How can I achieve the perfect exposure in long exposure night photography?
To achieve the perfect exposure in long exposure night photography, start by using a low ISO setting to minimize noise. Set your aperture between f/8 and f/16 for a broad depth of field, and use a shutter speed that captures enough light to reveal details in the dark. Experiment with different exposure times, and consider using a light meter or histogram to fine-tune your settings.
Why is using a neutral density filter crucial for long exposure daylight photography?
A neutral density (ND) filter is crucial for long exposure daylight photography because it reduces the amount of light entering your camera, allowing you to use slower shutter speeds without overexposing your image. This is essential for creating effects like smooth water or motion blur in bright conditions.
Leave a Reply